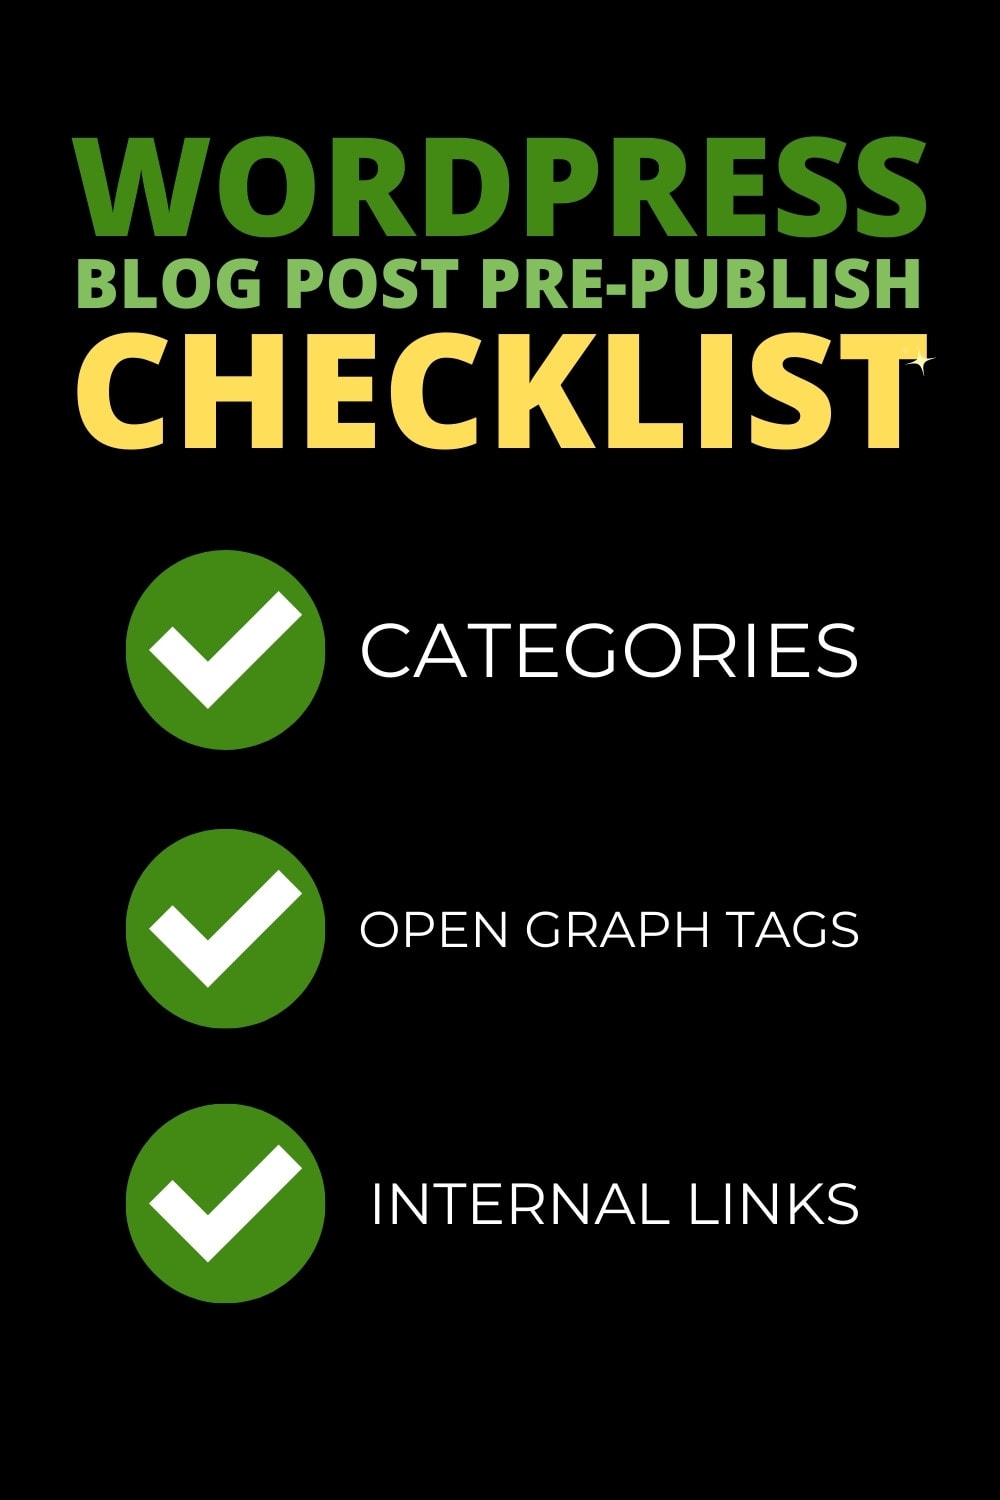
Pre-publishing checks can often mean the difference between content that just sits on your blog and content that gets tons of love from search engines or goes viral on Google Discover and social media.
Before you publish a blog post, use this checklist to see if your content is correctly formatted and well-optimized. Remove the anxiety of forgetting to include critical elements in your post. A piece of content that follows all the best practices will have a better chance of driving traffic to your WordPress website. Once you’ve ticked most of the boxes on this list, you can send your work out to the internet.
- Read It Back
- Have a Good URL structure
- Check your Grammar
- Good Category Choices
- To Tag or Not to Tag [And how]
- Optimise your Post Title
- Make The Most of Meta Descriptions
- Optimize your Featured Image
- Open Graph Meta Tags for Social Media
- Power Up with Internal Links
- Ignore Yoast SEO's Green Light, Please!
- Expert Tip
Read It Back
Use read aloud, a text-to-speech voice reader, to find errors or weird sentences that are not obvious when reading. When you hear your content read aloud, mistakes and difficult to understand passages will all become apparent.
Read Aloud is available as a Chrome extension and comes built in to Microsoft's Edge browser.
Have a Good URL structure
Note: a URL is a complete address including domain name and “subfolders” that point to a specific page on the internet. You can see URLs in your web browser's address bar.
Make the URL slug keyword-rich and as short as possible. I think you’ll agree that the URL below looks pretty bad.
Urls-that-look-like-this-because-the-author-didnt-bother-editing-it
Don’t do this.
As an example of a good slug, look at the title of this post:
wordpress-checklist-pre-publish
I’ve gone for a keyword-rich but descriptive URL that’s not too long. I could have included the word “before” but it’s redundant and it’s better to use less common words in an URL.
Check your Grammar
You might not be writing a thesis or a white paper for your industry, but grammar is very important in content writing. Not only because good grammar is crucial to effective communication, but because Google’s algorithm also performs quality checks on content. If your writing is littered with bad grammar and spelling mistakes, there’s a chance it will trigger low-quality signals.
Don’t make your readers or the search engines struggle to understand what you’re saying. Be clear, write well, check your spelling!
Good writing = Good Communication = Better Business
If you find it hard to edit your own writing (we all do), then use a plugin like Grammarly or ProWritingAid. Both have free extensions for your browser to find any mistakes.
I used both tools to check this document.
Mistakes will pass the checkers, of course. Nobody's perfect. But everyone should set aside the time to try and make their content as readable as possible.
Good Category Choices
Put your post into 1 or 2 relevant categories only.
Don’t go crazy with the categories on your blog.
Unless your site is huge, 10 categories should be enough for any niche. Make sure to use descriptive and helpful titles for your categories.
To Tag or Not to Tag [And how]
I only use tags for internal management and for certain blog search functions and I always prevent Google from crawling and indexing tags on my WordPress websites.
The reason I de-index tags is to reduce the bloat. With no tags, there are fewer pages for Google to crawl. And it makes it easier to show Google which pages should rank for a given keyword.
Let me explain. I’ve seen many blogs with structures like this:
/category/dessert-recipes/
/tag/desserts/
/best-dessert-recipes/
This structure makes it more difficult for Google to decide which page should rank for “dessert recipes”.
Think about it. Which URL should be the authority page for that keyword?
If you do decide to use tags, make sure you don’t go overboard and don’t make a tag the same as a post title or a category. That won’t help.
Optimise your Post Title
The title of your post should have both of the following characteristics
- Catchy or engaging
- Keyword-focused
The first is to get people to click on your post. The second is another indication to search engines about the topic of your post.
Note: some will argue that search engines are smart enough to know the keyword topic based on the content. That may be true, but even in 2021, adding the keyword to the blog post title will help your post rank higher. It still works, and until that changes, I’m sticking with it.
The post title should contain the keyword, but should also invite people to click. If you've written a listicle, add the number of items in the title (example: “11 best x for y”). If the content is timely, add the year (example: “How to x in 2021”). Include a question or a call to action (CTA) in the title if it makes sense (example: “Want the best advice on x? Read this”).
Boring titles rarely work, except for in certain professional industries. And even then, why write a boring title when you can write something that makes people want to read your content.
If you’re stuck for ideas, run some topics through copy.ai for inspiration. However, you should not accept the generated recommendations verbatim. AI writing software rewrite content based on the body of content that’s already publicly available. So if you want to stand out, avoid Google penalties, and be unique, write your own titles with or without the help of AI tools.
Make The Most of Meta Descriptions
Meta descriptions can be as click-bait as you like. Google doesn't include these elements as ranking factors.
Make sure people get what they expect when they click through. Don’t offer the world and then fail to deliver. Make sure the description is less than 160 characters.
I should point out that Google often ignores these tags and just pulls out some content snippet from your post. In some cases, Google even rewrites your content. And you can control this to some point, but it’s not worth messing with. Set a description and let the search engine decide what to show.
Optimize your Featured Image
While you don’t actually need a featured image, it’s a really good idea to have one, even if your theme doesn’t display these image by default.
Why include one?
For one thing, WordPress sites that use a blog feed with images, you’ll need something to show people. Google will also use these images for featured snippets.
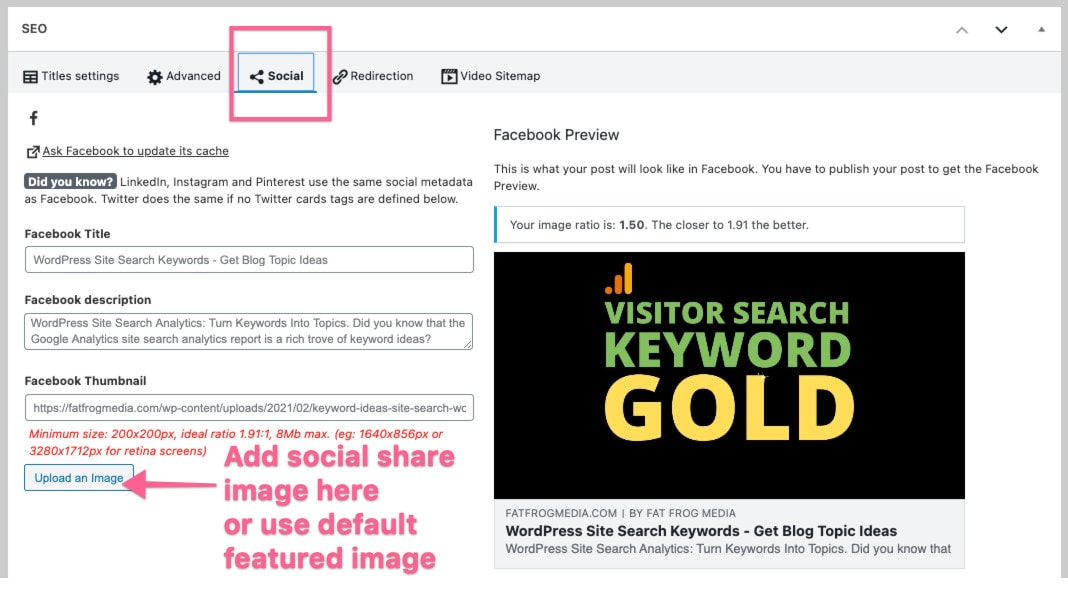
When people share your post on social media, the social network will first look to see if you’ve specified what’s called the Open Graph image.
You can set the Open Graph tags (image, title, description) in your SEO plugin or hardcode it if you're technically minded.
When a social platform can't find OG tags on your post, the featured image is usually the next image selected. If you don’t have anything set at all, social shares might show a blank placeholder, your logo, or worse still, some random image from the post that does not represent the content.
Test your OG tags with the Facebook Sharing Debugger. You can experiment with how a post looks on a social share with no images, no image, and so on.
More info on this below…
Open Graph Meta Tags for Social Media
This is one place where you can use clickbait titles, images, and descriptions if you like. I’m not saying you should, but it won’t negatively affect the SEO of your WordPress website if you do.
Open Graph meta tags are used by Facebook (and Twitter and LinkedIn) when someone shares your content. If you don’t actually specify these tags, Facebook will pull the information from your blog title, images, and description.
While this is fine in most cases, maybe you want to use a really catchy title or an image that works better on Facebook than Google. In this case, you can easily do that with Open Graph tags.
SEO Press, Yoast, and some WordPress themes have places where you can add images, titles, and descriptions for Facebook and Twitter.

Power Up with Internal Links
This is often overlooked, but the importance of internal links can’t be overstated. Interlinking between content on your WordPress site indicates your commitment to providing value, helping users find related content, and shows that new content build upon the body of work already published.
Of course, this last point highlights the fact that if you publish content on a completely new topic, it’s going to be hard to find anything on your website to link to. And it’s not a good idea to force a link.
Generally, most blogs will talk about specific niches, and there should be plenty of opportunity for interlinking. So why not do it?
There are several ways to build internal sitelinks.
The first way is to open a web browser and type the following
site:[your domain] keyword.
If I wanted to search for the word WordPress on Fat Frog Media, that would be
site:fatfrogmedia.com WordPress
Google will return a list of all the mentions of the keyword on your site.
These are all opportunities for interlinking.
And of course, you can link back to your new post from previously published content. But you will have to wait until you publish the post to do so.
So if the topic of your post is “best affiliate programs” and you want to rank for that keyword, search your site for mentions of “affiliate programs” or any variation on this, use these words as the anchor text for a link to your new post.
A second way is to use Link Whisper, a tool that automates much of the work involved in finding and building relevant internal site links.
Ignore Yoast SEO's Green Light, Please!
I mention this because most of you reading this probably have Yoast SEO installed. This popular SEO Plugin has some cool features. But it also contains a terribly distracting gamified SEO metric – a traffic light system that rates the “SEO quality” of a piece of content. This system has probably caused more people to ruin their content than any other.
I’ve seen perfectly good blog posts twisted into ridiculously hard-to-read garbage as bloggers the green light. Ignore it. Google doesn't care about the green light. Follow the advice on this checklist and write great content. You’ll be fine.
By the way, a much better alternative to Yoast is SEOPress. It offers many cool features missing in Yoast. It's also more intuitive and a better user experience.
Expert Tip
Finally, if you have the budget, run your posts through Surfer SEO’s Content Editor tool or Frase’s Content Editor to see how your post stands up against the competition. too long? Too short? Missing key phrases or words? These tools will tell you exactly what you need to do. Google has stated that the first indexing of your content is the most important, so try to make it as good as it can be.
Want this blog post checklist in pdf?
Drop your email list below and I’ll send you a nicely formatted PDF version of the list with check boxes you can use before you hit that publish button.
Is there a WordPress checklist plugin?
The descriptively titled Pre-publish Checklist plugin is basic but functional. While this plugin is free to use, I wouldn't recommend using it. I try to reduce the number of plugins on a WordPress website to prevent bloat (slow website speed and poor user experience). And this plugin does not cover all the checks I discuss above.

